This window lets you to select the Company and the site before requesting for the item.
This step is optional and you can skip it. However, without the company/ branch, prices are not customer-specific and may change after a customer is selected.
Select Company: To select the company for which the item is being requested for.
Select Branch: To select the branch for which site the item is being requested for.
Company: Displays the selected company.
Branch: Displays the selected branch.
Set Order Information: To set the company and site before requesting item.
Skip Order Information: To skip to set the company and site before requesting item.
You can select the date range for the item availability request.


Search bar: To search for an item by entering the part of the item description.
Date selected: Displays the date range selected for the item request.
Category list: Displays the category list. You can either click the rightward arrow or click the category name to see its sub category list.

Search bar: To search for an item by entering the part of the item description
Date selected: Displays the date range selected for the item request.
Sub Category list: Displays the sub category list. You can either click the rightward arrow or click the sub category name to see the item list.
After selecting a sub category, the product list for that sub category displays, from which you can select a product to view site availability.
In the list below, the availability display is set to Quantity, so that you can see the total and preferred site available quantities.
Click the item line to view the available quantity on the respective site.

After selecting a product, the site availability for the selected product displayed, including price information if the user’s 'Show Price' is set to Yes (Rental and/ Sell Price is hidden if the item can’t be rented/ sold in R2).
Click Site name to see the product details
 |
If the user view selected for 'Single Site', this view is skipped and the user sees product details. |

Category: Displays the selected category.
Date selected: Displays the date range selected for the item request.
Sub category: Displays the selected sub- category.
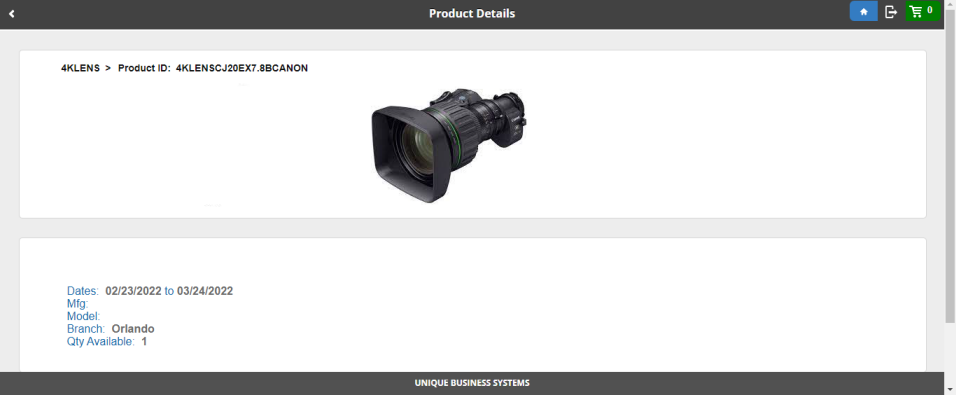
Product ID: Displays the product ID of the item.
Product information: Click site line to view the product information as shown here.
Add product: Click Add icon to add the item quantity to request the item.

Product Details: The Product information such as Product description, Product Id, Branch, and available quantity is displayed.
Quantity: To enter the required quantity to request.
Rent: To rent the item.
Sell: To sell the item.

Product information: Displays the product information along with the date selected for the product request.
Send Request: To send the request for item availability.
Hold: To hold the request.
Quote: To quote the items.
Reservation:To reserve the items.

Product information: Displays the product information along with the date and quantity selected for the product request.
Company and Shipping: To provide the company, site, and shipping details in the respective fields.
Acknowledge: To accept the terms for ordering for the website.
Send Request: To send the request.