
Reference No: R2-15034
Version No: 06.01.05-00
Previously, when you add a new line in Production Plan window grids, the line was adding above the selected/highlighted line and if no line is selected/highlighted, then new line was adding at the end of the grid.
As per this new enhancements, the new line gets added below the selected/highlighted line. If no line is selected/highlighted, then system adds the line at the top of the grid.
Note: The changes mentioned above are for the ease of use while doing data entry. However, it should be noted that when the Production Plan is saved and closed, the lines added post last Save action of Production Plan will always be positioned in the end of the grid irrespective of where it is added while doing the data entry.
Create an Order in R2.
In the Order window, click View > select Production Plan.
Create a production plan for the Order.
Add few lines where you have the option to add the lines in the different tabs of the Production Plan window as shown below.
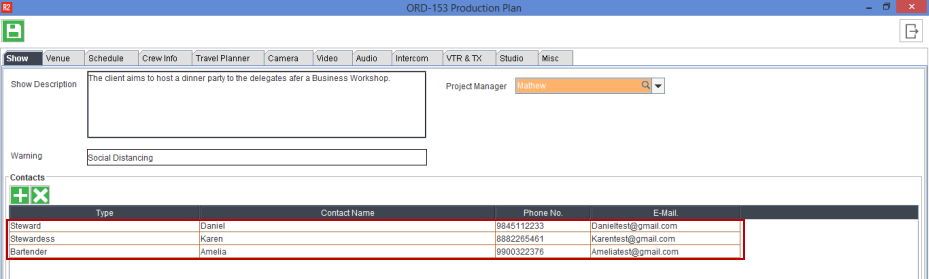
In R2, Open the Production plan of an Order (See Figure 1.0)
Select the line and click Add icon.
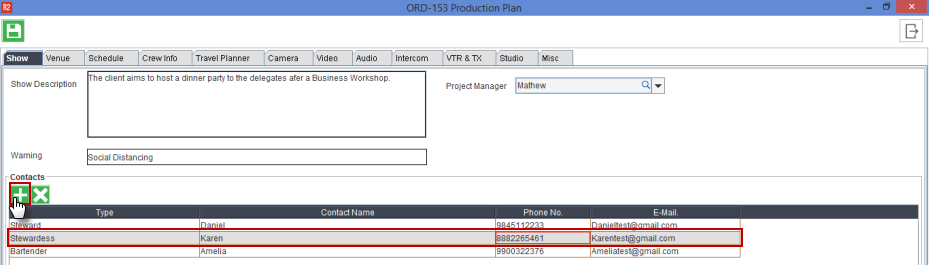
The new line adds below the selected line.
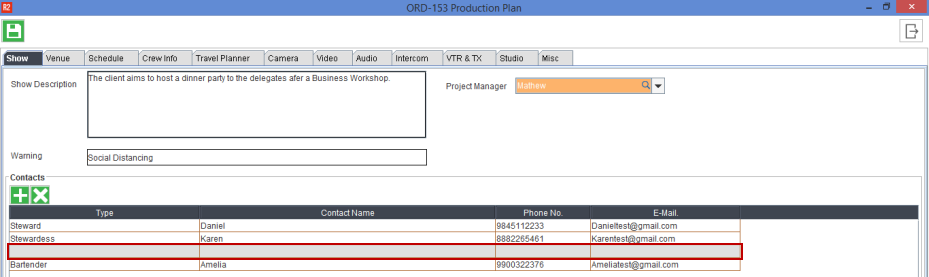
Fill the details and click Save.

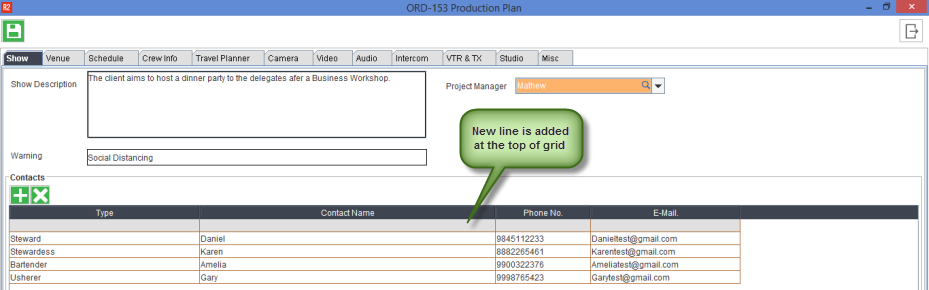
The line gets added at the top of the grid only when no line is selected. So make sure to not select any line if you need the line at the top of the grid.
1. Click Add Icon without selecting any line as shown below.

The new line gets added at the top of the grid.
Fill the details, click Save, and Close the Production Plan.

Open the Production Plan again, the lines added post last Save action of Production Plan positions at the end of the grid irrespective of where it is added while doing the data entry.
